How to set up Apache, MariaDB (MySQL) and PHP on a Raspberry Pi
Get your own AMP stack on your Raspberry Pi
I like to mess around with my own book database, which for now is developed using a MySQL database (using the superior MariaDB) and Laravel (a PHP MVC framework). I have it running “in production” on a Raspberry Pi using Apache. If you also want an AMP (Apache, MySQL & PHP) stack on your Raspberry Pi, read on!
This how to assumes that you have a Raspberry Pi (version doesn’t really matter, although I am not quite sure how well a Raspberry Pi Zero can handle this stack, I’ve never tried it), and that you have Raspberry Pi OS running on it. You should be able to run command line commands, either through SSH or on the device itself.
NB, this will get a local webserver up and running. This webserver will not be accessible from outside of your network. Setting up port forwarding on your router should not be very difficult, but be aware of the security risks. As soon as you open up the most used ports, attackers will start trying to get in. I don’t feel that I am knowledgable enough on security matters so I don’t even try.
Prepare
Before we get started, let’s first make sure our Raspberry Pi is completely up to date:
sudo apt update
sudo apt upgrade -y
Install Apache
If you want more background information about installing Apache on a Raspberry Pi you can check the documentation of the Raspberry Pi Foundation.
Installing Apache can be done by:
sudo apt install apache2 -y
Apache will now automatically start, and will also start up when the system restarts.
When the installation is finished you can go to http://localhost/ on the Raspberry Pi itself, or to http://<ip adress> (with your Raspberry Pi’s IP address) from another computer on your network.
We will set up Apache later on when we have installed MySQL and PHP as well.
Install MariaDB
MariaDB is a fork of the more well known MySQL database server. It follows the MySQL releases closely, but is usually quicker with updates and fixes. MariaDB should be fine as a drop-in replacement for MySQL, I have never had any problems. We will use this to store our database on.
To install MariaDB:
sudo apt install mariadb-server
This installs and starts-up MariaDB (and it will also restart when the system restarts).
By default the MySQL/MariaDB install is quite insecure, let’s fix that right away.
sudo mysql_secure_installation
It will ask for the root password, by default there is none (so press enter).
Enter Y and set a root password (and don’t forget this password!). Also say Y to remove anonymous users, disallow remote root access, remove the test database and reload privileges.
You can now connect to the database using:
sudo mysql -uroot -p
However, using sudo just to connect to a database isn’t very safe, and also, this won’t work for other programs. So, let’s create a non-root user (which can connect without using sudo).
In mysql do:
CREATE USER 'username'@'localhost' IDENTIFIED BY 'password'; (do replace the username and password)
GRANT ALL PRIVILEGES ON *.* TO 'username'@'localhost' WITH GRANT OPTION; (replace the username)
FLUSH PRIVILEGES;
Using mysql you can execute MySQL commands (like creating databases and tables, inserting, updating and deleting data and executing queries.).
Be aware, just running the mysql command on the Raspberry Pi (without supplying a user with -u) will try to use the user that is using the terminal (probably pi), and this user does not exist (by default) on MySQL. You can either always supply the user, or create a pi user in MySQL.
Install PHP
To be able to run PHP, we will need to install PHP on the Raspberry Pi, and add the PHP module to Apache.
Let’s install:
sudo apt install php libapache2-mod-php -y
And load the PHP module in Apache:
sudo a2enmod php7.3
Restart Apache to activate the new configuration:
systemctl restart apache2
Set up Apache
We will need to do a little bit more setting up on Apache, both to make it work, and to make it work better.
Let’s also load the rewrite needed to rewrite requested URLs.
sudo a2enmod rewrite
Right now Apache is not set up for the user
We will also need to add a bit to the configuration to enable PHP:
sudo nano /etc/apache2/apache2.conf
Scroll until you see something like:
<FilesMatch "^\.ht">
        Require all denied
</FilesMatch>
Add below this:
<IfModule dir_module>
    DirectoryIndex index.php index.html
</IfModule>

<FilesMatch "\.php$">
    SetHandler application/x-httpd-php
</FilesMatch>
I also add my own directory where to store my sites. I never use the default location, because I can never remember it. Luckily we can add another so we have a more convenient place to store our site
Scroll until you see something like:
<Directory /var/www>
        AllowOverride None
        Require all granted
</Directory>
This is the default location for your sites. My preferred location is a new folder called Sites in my home directory, but it can be anything you like.
Add this below the default block:
<Directory /home/pi/Sites>
        Options Indexes FollowSymLinks
        AllowOverride All
        Require all granted
        Allow from all
</Directory>
Save and close the file with CTRL+Q, Y and enter.
Let’s restart Apache to load the new configuration file:
systemctl restart apache2
We will also change the default Apache users in the envvars file:
sudo nano /etc/apache2/envvars
Change:
export APACHE_RUN_USER=www-staff
export APACHE_RUN_GROUP=www-staff
To:
export APACHE_RUN_USER=pi
export APACHE_RUN_GROUP=pi
Restart Apache again:
systemctl restart apache2
We can now test PHP. Let’s go to our Sites folder, and create and open a PHP info file.
cd ~/Sites
touch info.php
nano info.php
In the editor, add:
<?php phpinfo(); ?>
Save and close the file with CTRL+Q, Y and enter.
Now visit this file with our browser on localhost/info.php or <ip address>/info.php. You should see something like:
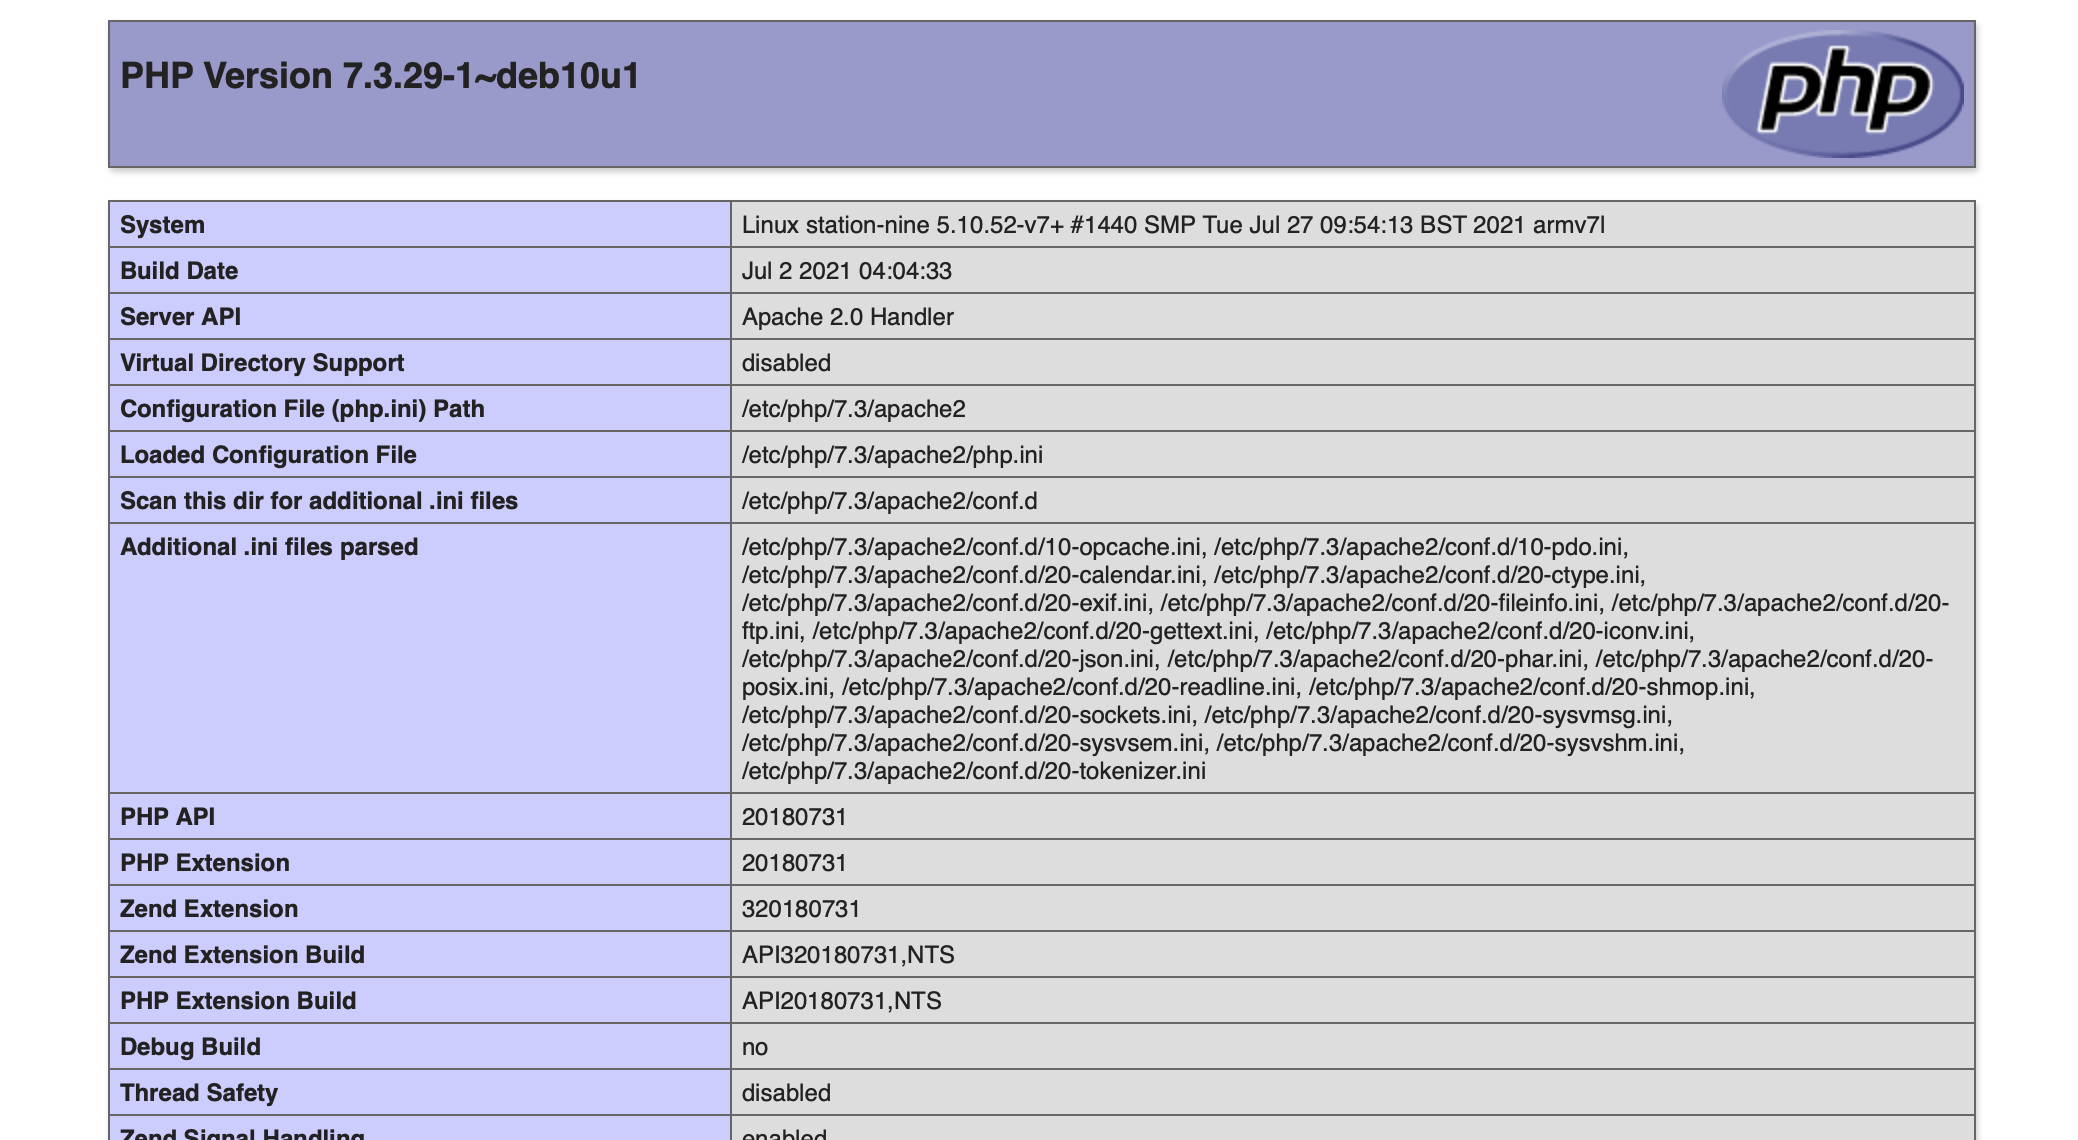
1. Screenshot of my PHP info file, served from Apache
Virtual Host
This setup will serve one site (on the standard port 80) from one folder. If you want to host more than one site, you can use virtual hosts to do this. I don’t use this on my Raspberry Pi (as this is my production machine, with just one site), but I do use it on my Mac quite a bit to offer a development and test version side by side. There are quite a few different ways to configure your virtual hosts, so I won’t go into detail here. You can start here to read all about it.
Useful commands
To restart Apache (after changing settings):
systemctl restart apache2