How to set up Home Assistant OS on a headless Raspberry Pi
Set up an extensible home automation solution on your Raspberry Pi
Home Automation… On the hand it feels like overkill, on the other hand, it is so much fun. But even though we are just getting started, we already have a few standards in our house (Hue and Tuya) and that will probably just grow. And I never seem to be able to do what I want to do (turn on the lights based on the sunset time?). Enter Home Assistant an open source, free, extensible solution, perfect to run on a Raspberry Pi, with privacy and local control.
When you install Home Assistant on your Raspberry Pi, you have three possible options. A dedicated OS, a container (for example in a Docker environment) or Core, a Python program.
I tried installing the Python program, which worked, but I could not get it to automatically start on a reboot. I tried installing the container, but installing Docker failed for me. So, let’s try the OS. My challenge here is that I run all my Raspberry’s headless, and I have no easy access to an ethernet cable to get to the initial setup.
Write the OS image to your SD
We will write the Home Assistant OS image to an SD. This will erase the SD!
Download the applicable image (for Raspberry Pi 3 or 4, 32 or 62 bit) on the Home Assistant site.
Open the Raspberry Pi Imager, and click Choose OS. Then choose Use custom and point to the downloaded image on your hard drive. Then pick your SD card, and click Write. (There is also a Home Assistant image available in the Raspberry Pi Imager under Other specific purpose OS but when I checked, this was a much lower version than on the Home Assistant website itself.)
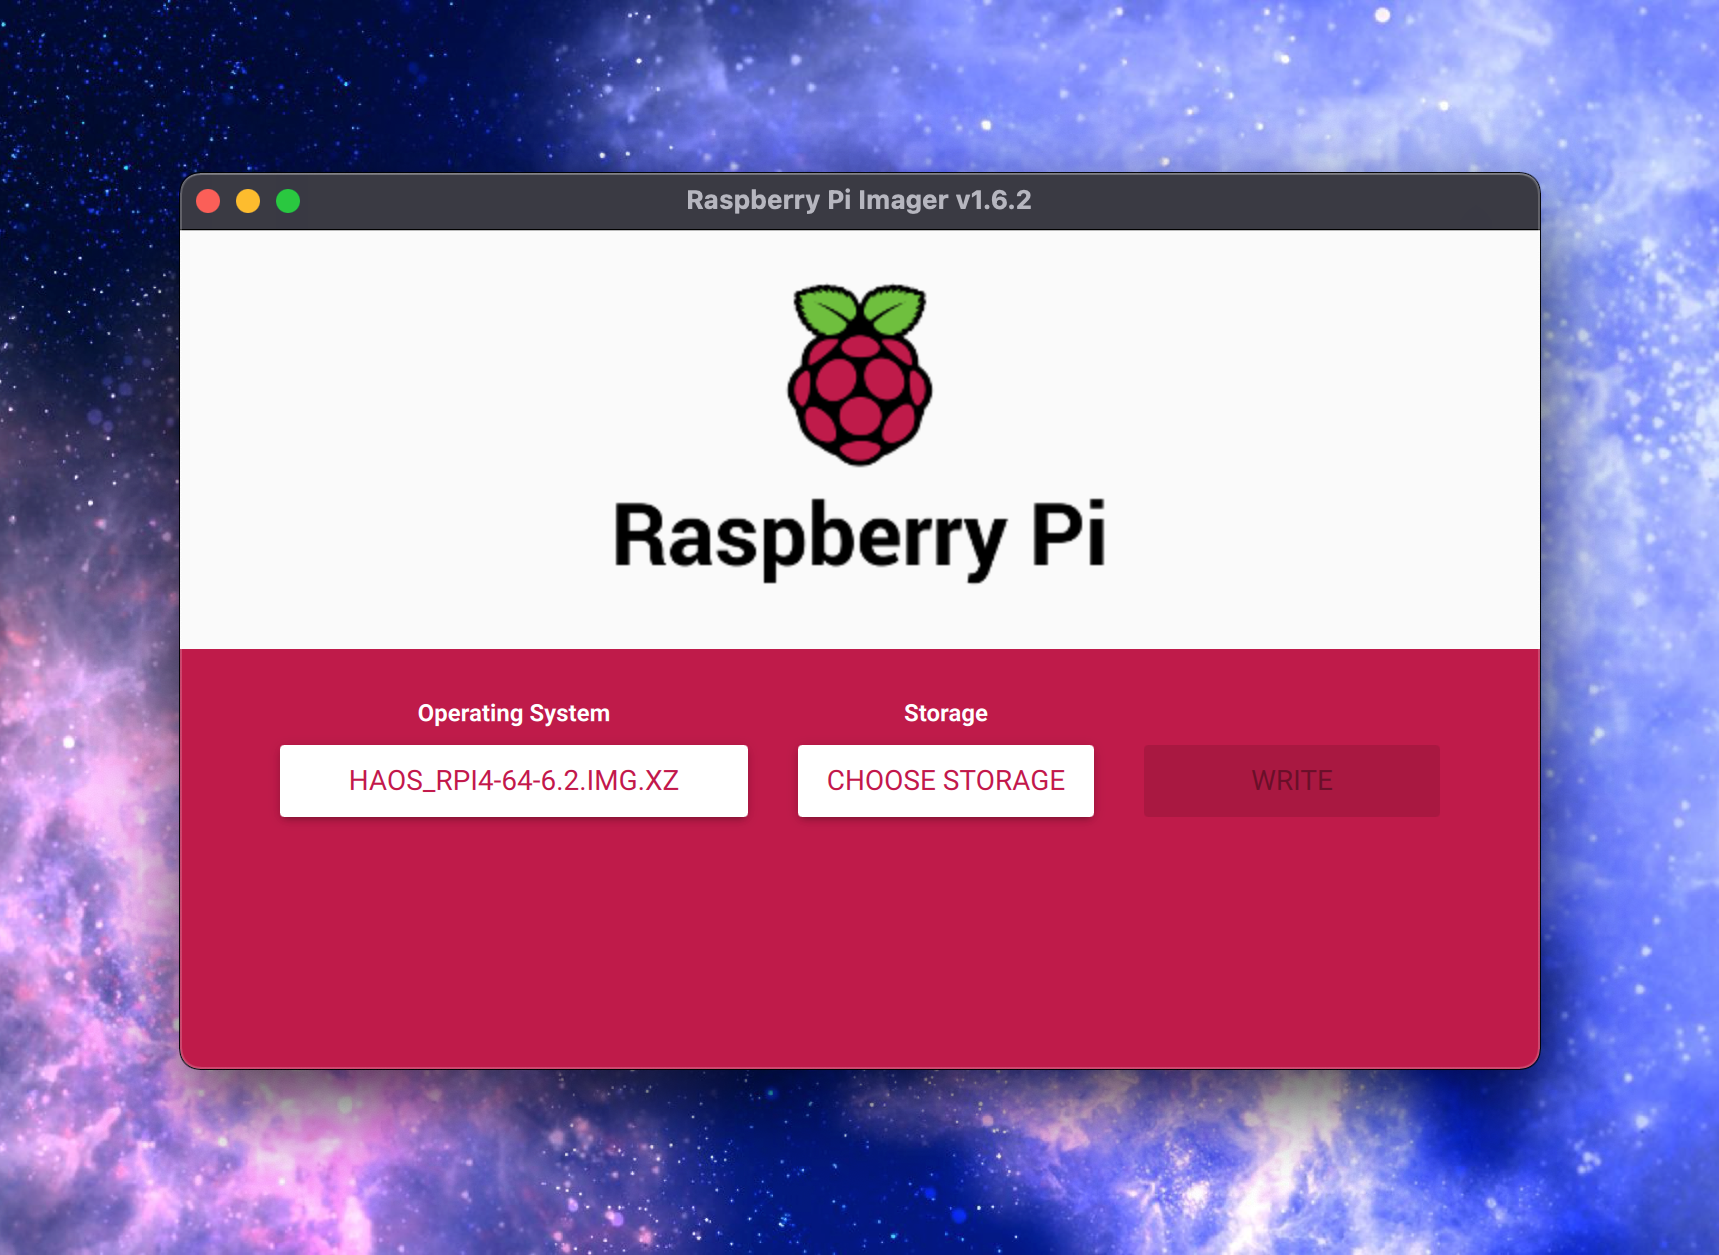
1. Screenshot of the Raspberry Pi Imager with the downloaded Home Assistant Image selected
Your Wi-Fi connection
On the Home Assistant site the next step is to start up your Raspberry Pi with an ethernet cable attached, which I don’t have. I had found some tutorials online that said to place a specific file with Wi-Fi info on the SD card (similar to [running the Raspberry Pi OS headless]](https://divinenanny.nl/blog/2021-08-05-setup-new-raspberry-pi/))). But when my (MacOS) computer had finished writing the Home Assistant image, the SD card became unreadable to my computer. So I had no way to place the file on the SD card. Luckily an older tutorial by Adafruit helped me out.
Get an USB drive that can be erased or is empty.
Format the USB drive as MS-DOS FAT32 and rename it to CONFIG. On MacOS you can use Disk Utility for this.
Onboarding
You can open the Home Assistant user interface in your browser by going to http://homeassistant.local:8123 or http://<ip address>:8123. Use the admin interface of your modem/router or an app like Fing to find out the IP address of the Raspberry Pi. It will identify itself on your network as homeassistant.
You should now see the Home Assistant onboarding screen, where you can create your account.
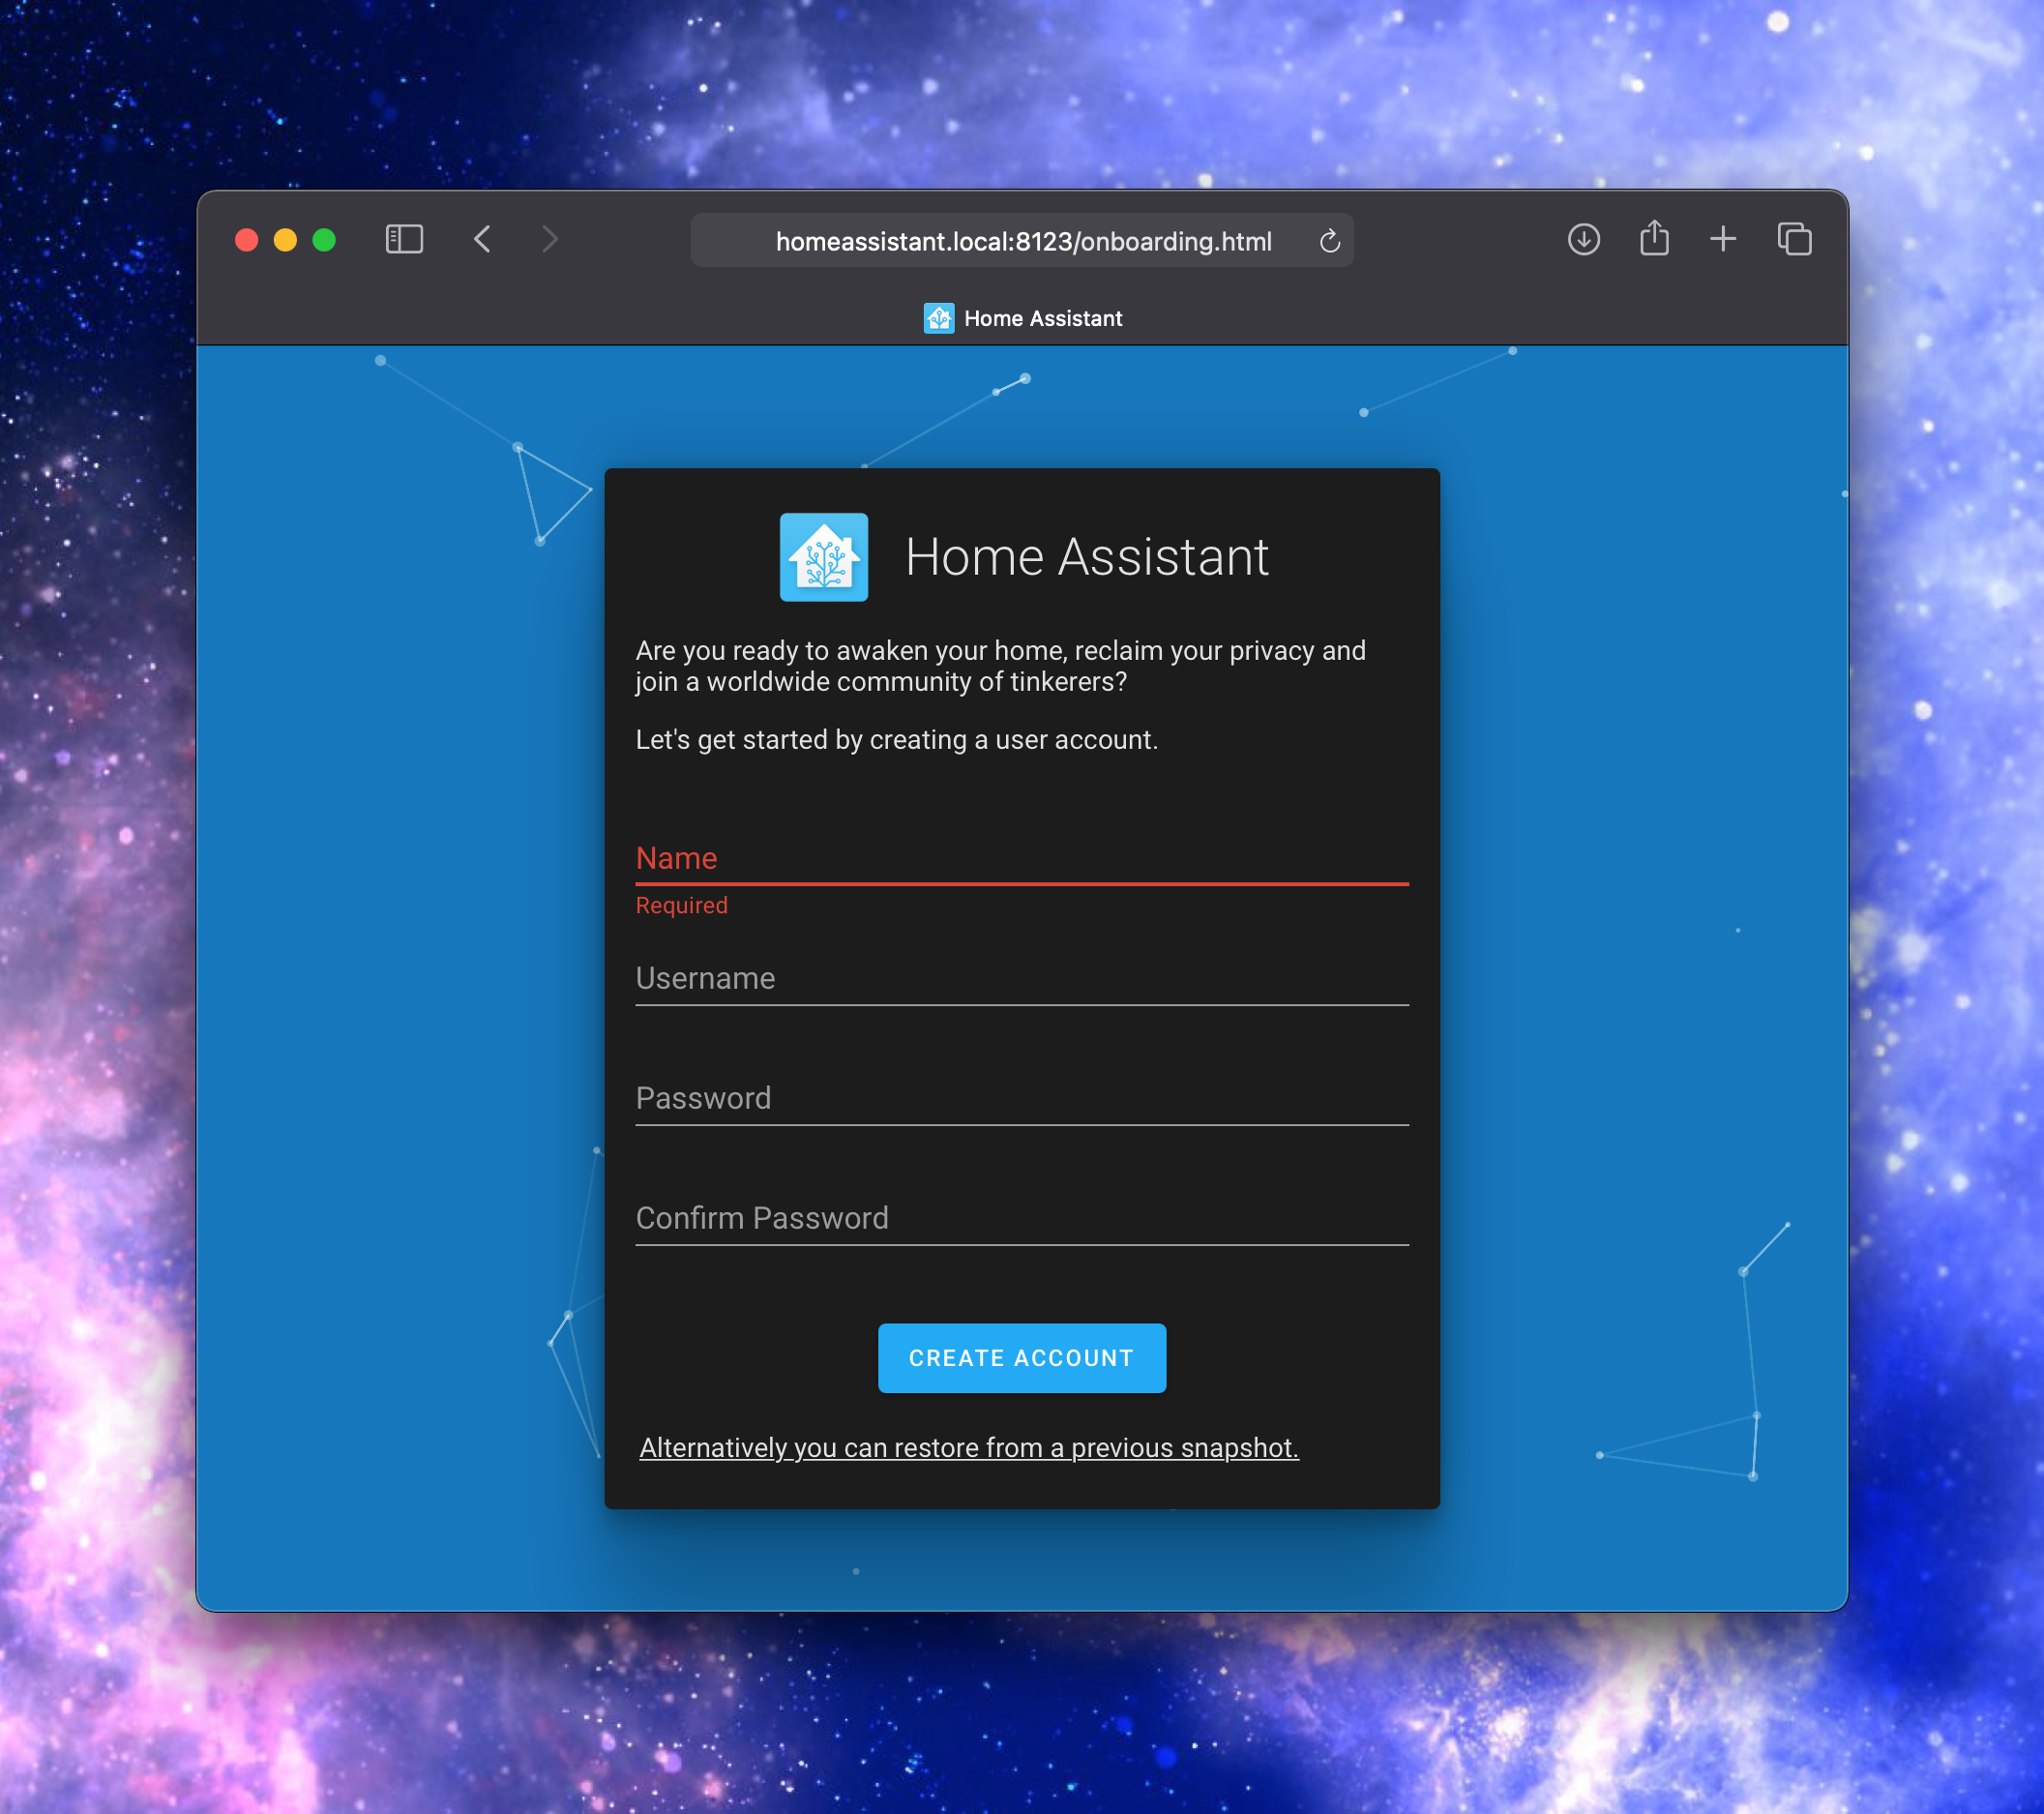
2. Screenshot of my onboarding page (trenzalore is the hostname of my Raspberry Pi)
Create your user account, and on the next screen, enter details about your home (this is used in the settings for things like the time, weather etc.). You can choose which data to share with Home Assistant (I always choose none), and then it will automatically detect devices and services on the network that it can interact with.
On reboot
You can remove the USB drive after the first setup, it has stored the Wi-Fi information and will automatically reconnect. If the Raspberry Pi is restarted Home Assistant starts automatically.